Table of Contents
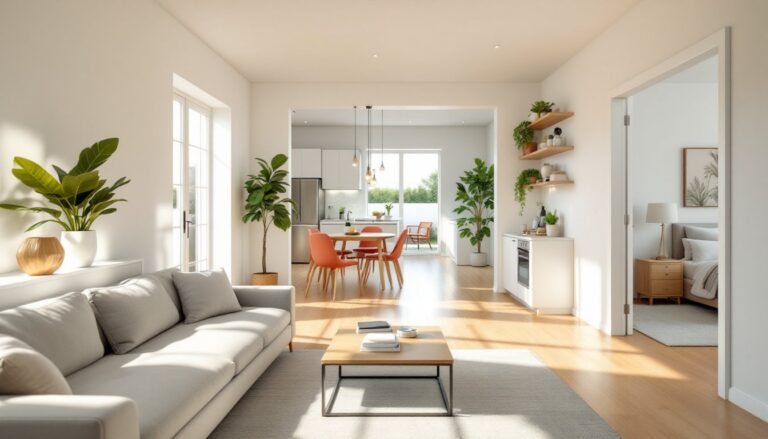
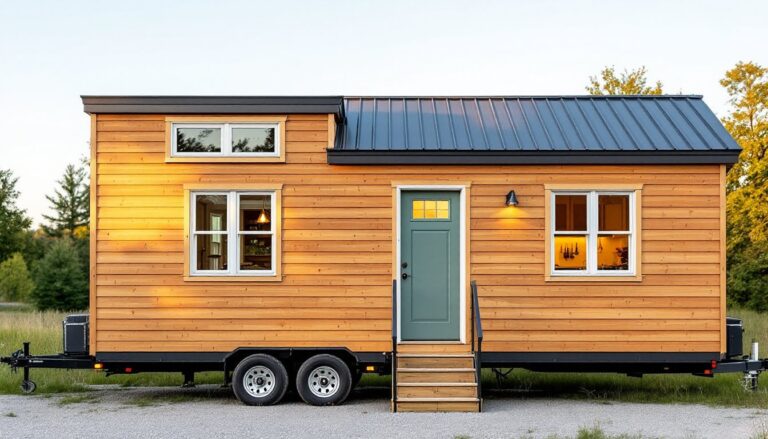
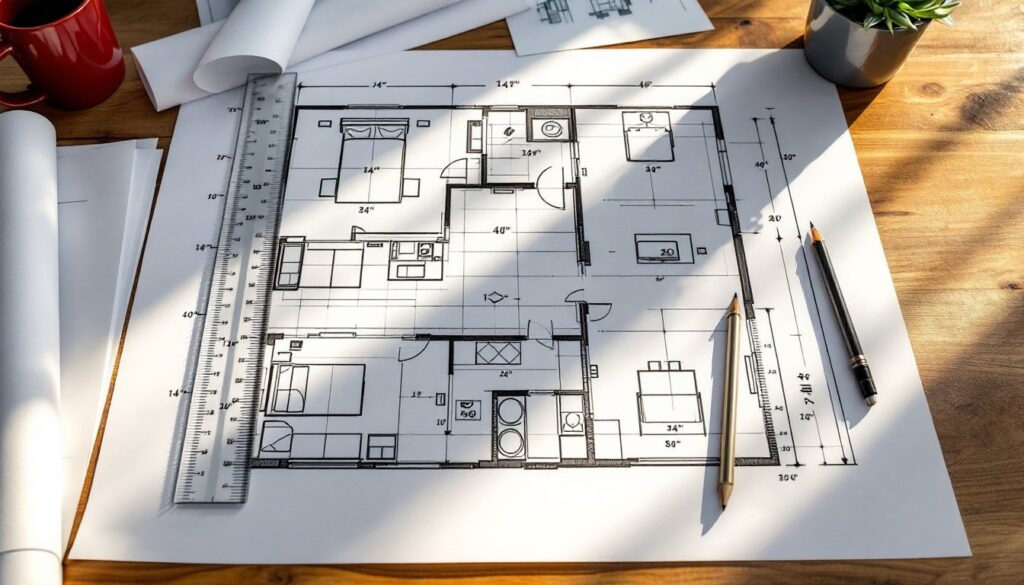
ToggleA 14×40 tiny house delivers 560 square feet of living space, enough room to feel comfortable without the expense and maintenance of a traditional home. This footprint strikes a balance that appeals to retirees, young professionals, and anyone downsizing. The 14-foot width fits standard trailer beds for mobile builds, while the 40-foot length provides distinct zones for sleeping, cooking, and living without claustrophobic hallways. Whether you’re building on a foundation or designing a towable unit, the 14×40 layout offers flexibility that smaller footprints can’t match.
Key Takeaways
- A 14×40 tiny house floor plan provides 560 square feet of comfortable living space with distinct zones for sleeping, cooking, and living, making it suitable for retirees, young professionals, and anyone downsizing.
- The 14-foot width aligns with standard framing materials and trailer beds, keeping construction costs down, while the 40-foot length avoids the claustrophobic feeling of smaller tiny house footprints.
- Choose between an open-concept single-level design for accessibility or a loft-style plan to maximize main-floor space, with each layout offering distinct advantages depending on your age, mobility, and lifestyle needs.
- Storage solutions, natural light, multipurpose furniture, and efficient mechanical systems (like tankless water heaters and mini-split HVAC) are essential to prevent a 14×40 tiny house from feeling cramped.
- Pre-made floor plans cost $200–$1,500 and streamline permitting, while DIY designs offer full customization but require carpentry knowledge and may need professional review before building permits are issued.
Why 14×40 Is the Perfect Size for Tiny House Living
The 560 square feet in a 14×40 floor plan sits in the sweet spot for tiny house construction. It’s large enough to include full-size appliances, a bathroom with a standard tub or shower, and a dedicated bedroom, features that micro homes under 400 square feet often sacrifice.
From a structural standpoint, the 14-foot width aligns with common building materials. Standard 8-foot or 10-foot ceiling joists span 14 feet without requiring engineered lumber or additional support beams, keeping framing costs down. The length accommodates three or four distinct rooms without feeling like a narrow corridor.
For mobile tiny houses, this dimension works with triple-axle trailers rated for the weight of a fully finished structure. Most jurisdictions classify trailers under 8.5 feet wide as non-oversized loads, but 14-foot-wide builds typically require permits for road transport, something to factor in if mobility is a priority.
Foundation builds bypass the width restriction entirely. A permanent 14×40 structure falls under IRC (International Residential Code) guidelines for accessory dwelling units in many regions, though local zoning and setback requirements vary. Check whether your jurisdiction requires frost footings, pier foundations, or slab-on-grade before finalizing your plan.
The square footage also hits a practical threshold for resale and financing. Lenders often hesitate to finance structures under 400 square feet, but a 560-square-foot home may qualify for traditional mortgages or RV loans, depending on whether it’s permanently affixed or towable.
Popular 14×40 Tiny House Floor Plan Layouts
Two primary layouts dominate 14×40 builds: open-concept single-level designs and loft-style plans with elevated sleeping areas. Each suits different needs and building constraints.
Open Concept Single-Level Design
A single-level floor plan keeps everything on one plane, eliminating stairs and maximizing accessibility. This layout typically places the kitchen and living area in the center, with a bedroom at one end and a bathroom at the other.
The kitchen can accommodate a full-size range, a 36-inch refrigerator, and an L-shaped counter with room for a small island or dining table. Positioning the kitchen centrally shortens plumbing runs to the bathroom, reducing material costs and simplifying drain venting.
The bedroom comfortably fits a queen-size bed with nightstands and a closet or wardrobe. Some builders add a pocket door or barn door to save floor space, standard swing doors eat up roughly 9 square feet of clearance.
Bathrooms in single-level layouts often include a 32×60-inch tub/shower combo or a corner shower stall, a standard toilet, and a vanity with storage. Ventilation is critical in small bathrooms: install a 50 CFM exhaust fan (minimum code requirement for bathrooms under 100 square feet) vented to the exterior.
This layout works well for aging-in-place considerations or anyone avoiding ladder climbing. It also simplifies HVAC, mini-split heat pumps can condition the entire space from a single wall-mounted unit.
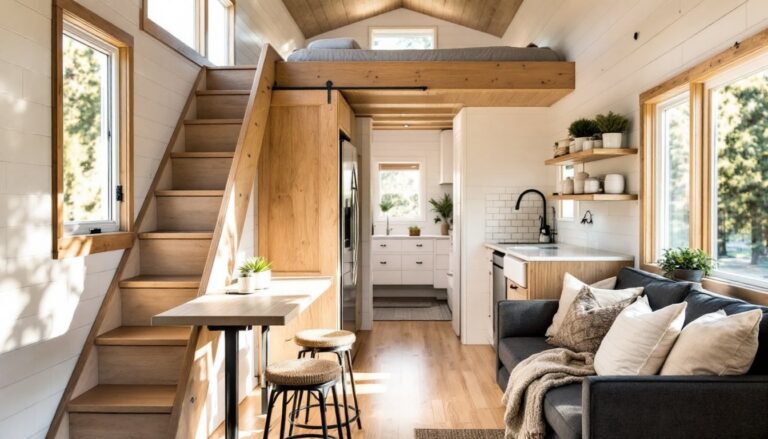
Loft-Style Floor Plan with Bedroom Above
A loft bedroom frees up the main floor for a larger kitchen, workspace, or living area. The loft typically sits above the bathroom or entryway, spanning 8 to 12 feet of the home’s length.
Loft dimensions matter for comfort. A sleeping loft should provide at least 36 inches of headroom when sitting upright in bed. For taller occupants, raising the loft ceiling to 42 inches makes a noticeable difference. This often means 10-foot main-floor ceilings, which increase exterior wall height and material costs but improve livability.
Access stairs or a ladder take up floor space. A standard staircase with 7.5-inch risers requires roughly 10 feet of run, but many tiny house builders use alternating-tread stairs or ship’s ladders to cut that footprint in half. Building codes for sleeping lofts vary: some jurisdictions treat them as habitable space requiring egress windows, while others classify them as storage unless they meet minimum ceiling height standards.
The freed-up main floor allows for features like a home office nook, a mudroom with storage, or a larger bathroom with a soaking tub. Some builders position the kitchen along one long wall with upper and lower cabinets, mimicking a galley layout that maximizes counter space.
Loft plans work best for younger occupants or couples without mobility concerns. Heat rises, so loft bedrooms stay warmer in winter but may need a ceiling fan or operable skylight for summer ventilation.
Essential Design Features to Include in Your 14×40 Floor Plan
Certain features separate functional tiny homes from cramped ones. Prioritize these elements during the planning phase.
Storage solutions deserve as much attention as room layout. Built-in cabinetry, under-bed drawers, and floor-to-ceiling shelving multiply usable space. Staircase treads can house pull-out drawers: bathroom vanities can extend under wall-hung sinks. Every vertical inch counts.
Natural light makes small spaces feel larger. Budget for at least one window per room, with a combined glazing area equal to 8% of the floor area (IRC minimum for habitable rooms). South-facing windows capture passive solar heat in winter: low-E glass reduces heat gain in summer.
Multipurpose furniture and rooms extend functionality. A dining table that folds into the wall, a sofa bed for guests, or a closet that converts to a workspace keeps the home flexible. Some designs incorporate Murphy beds that disappear into cabinetry during the day.
Efficient mechanical systems prevent the home from feeling cramped by utility equipment. Tankless water heaters mount on walls and free up floor space compared to 40-gallon tanks. Mini-split HVAC systems eliminate ductwork, and on-demand ventilation (like an ERV or HRV unit) improves air quality without bulky equipment.
Proper insulation is non-negotiable in small spaces. Thin walls mean less insulation depth, so choose materials wisely. Closed-cell spray foam provides R-6 to R-7 per inch, while fiberglass batts offer R-3.5 per inch. Walls built with 2×6 studs instead of 2x4s gain insulation depth but reduce interior square footage slightly. Energy-efficient framing techniques like advanced framing reduce thermal bridging and improve performance.
Moisture control prevents mold in tight spaces. Use a vapor barrier on the warm side of insulation, seal all penetrations with caulk or foam, and ensure bathroom and kitchen exhaust fans vent to the exterior, never into attics or crawlspaces.
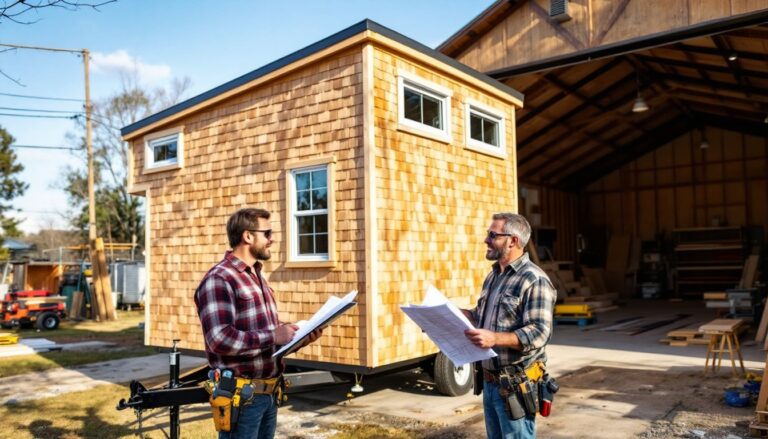
DIY vs. Pre-Made Floor Plans: Which Option Is Right for You?
Choosing between custom DIY design and pre-made plans depends on experience, budget, and local permitting requirements.
Pre-made floor plans cost anywhere from $200 to $1,500 and include detailed drawings with dimensions, material lists, and sometimes 3D renderings. Many come stamped by a licensed architect or engineer, which streamlines the permitting process. If you’re new to construction, a professionally drafted plan reduces guesswork and costly framing mistakes.
Pre-made plans save time but may not fit your specific site or needs. Adjusting a stock plan, moving a window, expanding a bathroom, or adding a dormer, often requires hiring a draftsperson or architect for revisions, which can cost $500 to $2,000 depending on complexity.
DIY floor plans offer total customization. Free software like SketchUp or paid tools like Chief Architect let you design from scratch. This route makes sense if you have carpentry experience and a clear vision, but it requires understanding load paths, header sizing, and roof framing. Undersized headers over window and door openings cause sagging: incorrectly spaced floor joists lead to bounce.
Even DIY plans may need professional review before permitting. Many building departments require a sealed set of drawings from a licensed professional for anything intended as a primary dwelling. For unpermitted builds (like those on agricultural land or in unincorporated areas), DIY plans suffice, but skipping permits can complicate future sales or insurance claims.
A middle-ground option: purchase a pre-made plan close to your vision, then modify it yourself for non-structural changes like cabinet placement or finish materials. Structural changes, moving walls, resizing beams, altering roof pitch, should involve a structural engineer.
Budget $3,000 to $8,000 for professional architectural services if you want a fully custom plan. That includes site visits, code compliance review, and revisions. DIY plans cost only your time and software fees, but mistakes during construction can easily exceed what you’d have spent on professional drawings.
Conclusion
A well-planned 14×40 tiny house makes efficient use of every square foot without feeling cramped. Whether choosing a single-level layout for accessibility or a loft design for extra living space, thoughtful decisions about storage, insulation, and mechanical systems determine long-term comfort. Start with a solid floor plan, whether purchased or DIY, and prioritize quality materials and proper permitting to avoid costly mistakes down the line.