Table of Contents
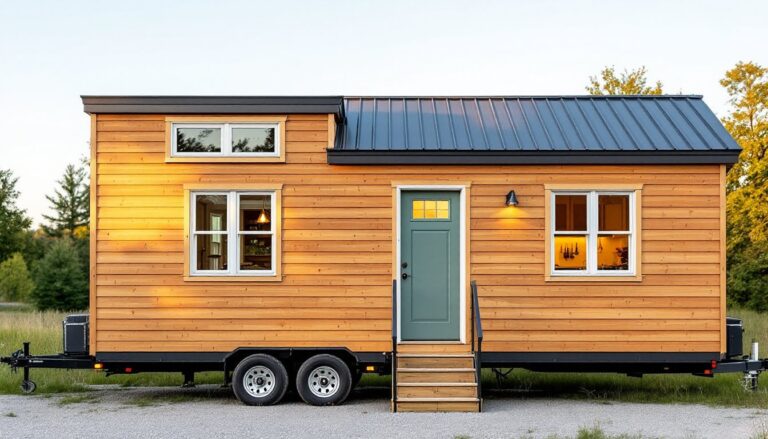
ToggleDesigning a 10×20 tiny house means working within 200 square feet of total floor area, roughly the size of a single-car garage. That’s tight, but it’s also highly buildable. Unlike larger tiny homes that require specialized trailers or overwidth permits, a 10×20 footprint fits on a standard dual-axle trailer (most are 8.5′ wide and can accommodate 20′ of length), making it towable in most states without special permitting. The challenge isn’t whether it can be done, it’s how to arrange sleeping, cooking, bathing, and storage zones without the layout feeling like a puzzle with missing pieces. This guide breaks down proven floor plan strategies, code-smart zoning, and space-saving features that make 200 square feet work.
Key Takeaways
- A 10×20 tiny house layout fits on a standard dual-axle trailer, making it towable in most states without special permits and sized perfectly for beginner tiny house builders.
- Vertical zoning is essential—lofts, overhead storage, and high-mounted cabinetry reclaim square footage without expanding the trailer bed in 200 square feet of usable space.
- Single-loft and double-loft configurations each offer distinct trade-offs: single-loft maximizes living area ceiling height, while double-loft improves weight distribution and creates functional separation for couples or small families.
- Space-saving features like alternating-tread stairs with integrated storage, murphy beds, pocket doors, and apartment-sized appliances transform a 10×20 layout from cramped to livable.
- Clustering wet zones (kitchen and bathroom on the same wall) simplifies plumbing installation, reduces costs, and improves both functionality and towing performance.
- Strategic zone definition using flooring changes, ceiling height variations, and partial partitions creates distinct living, sleeping, kitchen, and bathroom areas without sacrificing precious floor space.
Why the 10×20 Footprint Is Perfect for Tiny House Living
A 10×20 structure delivers exactly 200 square feet of usable space, which sits in the sweet spot for beginner-friendly tiny house builds. It’s large enough to include a full kitchen, a bathroom with a standard shower pan, and separate sleeping and living zones, yet compact enough to tow with a ¾-ton truck in most cases.
From a framing perspective, the dimensions work cleanly with standard lumber. Wall studs are typically placed 16 inches on center (o.c.), and a 20-foot length divides evenly into common rafter and floor joist spans without requiring custom cuts or engineered beams for most roof pitches. That saves both material cost and labor.
Because the structure stays under 13.5 feet tall (the maximum height for non-permitted towing in many states), builders can use a lofted design without special transport arrangements. And unlike 8×20 models, the 10-foot width allows for a centered aisle or galley kitchen without forcing sideways movement through the entire house.
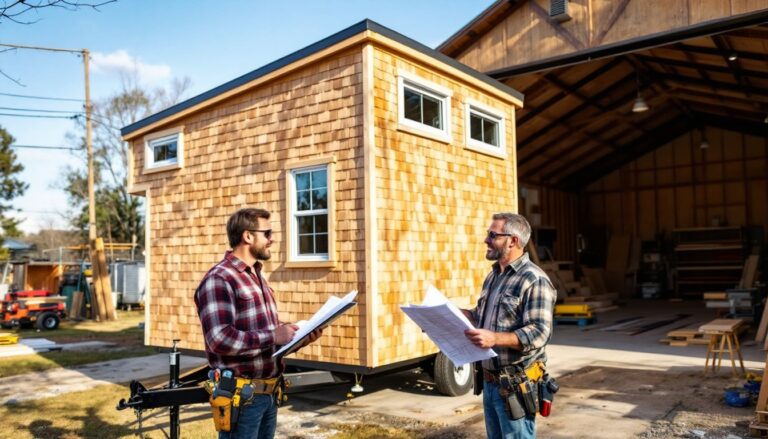
Most municipalities classify structures under 400 square feet as accessory dwelling units (ADUs) or recreational vehicles, depending on whether they’re on a permanent foundation or wheels. Either way, the 10×20 size often avoids square-footage thresholds that trigger full residential code compliance, though electrical, plumbing, and egress rules still apply. Always check local zoning before starting your build.
Essential Layout Principles for 10×20 Tiny Houses
Small-footprint homes demand intentional planning. Random furniture placement or impulse framing decisions eat space fast. These core principles guide every successful 10×20 layout.
Vertical zoning is mandatory. In 200 square feet, the only direction to expand is up. Lofts, overhead storage, and high-mounted cabinetry reclaim square footage without expanding the trailer bed. Ceiling heights in tiny houses typically range from 6’8″ to 7′ in lofted sleeping areas (meeting IRC minimum headroom for habitable space) and 10′ to 13′ in main living zones, depending on roof pitch.
Traffic flow must be linear. A 10×20 floor plan works best as a single-aisle layout, one clear path from entry to back wall, with rooms or zones branching off to either side. Trying to create circular flow or multiple hallways carves up the footprint into unusable slivers.
Multipurpose furniture isn’t optional: it’s structural. Built-in benches with storage underneath, murphy beds, fold-down tables, and staircase drawers should be part of the framing plan, not afterthoughts. Treating furniture as cabinetry means it gets anchored properly and doesn’t shift during towing.
Wet zones stack or cluster. Running plumbing across 20 feet of floor costs more in materials and adds leak points. Successful layouts place the kitchen and bathroom on the same wall or back-to-back, sharing a common plumbing chase. This also simplifies grey water and vent stack routing, which matters if the house will move between sites.
Natural light and egress windows are code requirements in most cases. The IRC mandates at least one egress window with a minimum opening of 5.7 square feet and a sill height no more than 44 inches above the floor. In a 10×20, that typically means one large window on a long wall and smaller windows or skylights elsewhere to avoid a cave-like feel.
Popular 10×20 Tiny House Floor Plan Configurations
Most builders choose between two dominant layouts, each with trade-offs in privacy, storage, and headroom.
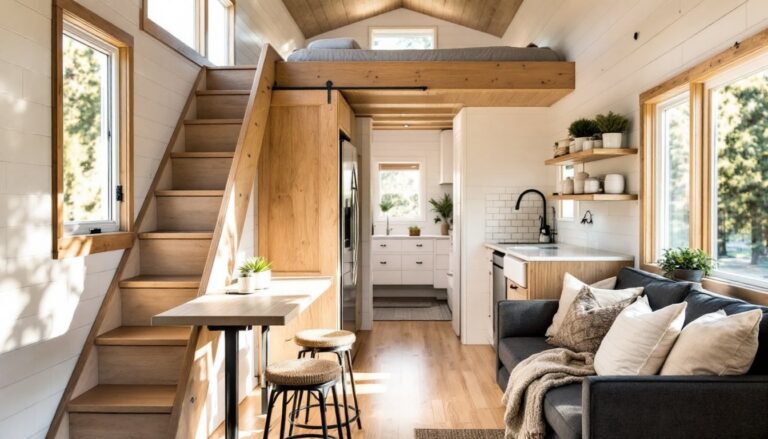
Single-Loft Layout
The single-loft configuration places one sleeping loft above the bathroom or kitchen, leaving the opposite end open for a taller living area. This is the most common layout for solo dwellers or couples without kids.
Typical zone breakdown:
- Bathroom (rear corner): 3×6 feet or 4×5 feet, containing a 32×32-inch shower pan, composting or RV toilet, and corner sink
- Kitchen (along one long wall): 6–8 feet of counter run, with overhead and base cabinets: usually includes a two-burner cooktop, under-counter fridge, and prep sink
- Loft (above bathroom/kitchen): 6×10 feet, accessed by ladder or alternating-tread stairs
- Living zone (remaining floor space): 8×10 feet, often with a convertible sofa or built-in seating
This layout maximizes ceiling height in the living area, useful if you work from home or want to avoid a cramped feel. The single loft also simplifies roof framing and reduces weight on one end of the trailer. But, it offers minimal privacy for two people and limits guest sleeping unless you add a fold-out couch.
Double-Loft Layout
The double-loft plan places sleeping areas at both ends, with the kitchen and bathroom occupying the ground-floor center. This works for couples who want separate work or sleep spaces, or for a small family.
Typical zone breakdown:
- Loft 1 (front end): 6×10 feet, often the primary sleeping area
- Loft 2 (rear end): 6×10 feet, used as a secondary bedroom, office nook, or storage loft
- Kitchen and bath (center ground floor): A galley kitchen runs along one wall: bathroom sits opposite or at the rear, typically 3×5 feet
- Living space (under lofts): Limited to a narrow aisle or small seating nook under one loft
Double lofts sacrifice main-floor living space, which can make the house feel like a hallway during the day. But they add functional separation, critical if one person works nights or if kids need a distinct sleeping zone. The symmetrical weight distribution also improves towing stability. Many small space living ideas emphasize creating distinct zones even in tight quarters, and the double-loft approach applies that principle vertically.
Space-Saving Design Features Every 10×20 Layout Needs
Generic furniture won’t fit, or won’t make sense. These built-in features reclaim square footage and improve livability.
Stairs with integrated storage. Ladder-access lofts save floor space but aren’t practical for daily use, especially for anyone over 50 or with mobility limits. Alternating-tread stairs (also called ship’s ladders) meet code in some jurisdictions as a loft access and use roughly 3×4 feet of floor space. Adding drawers or cubbies into each tread turns dead space into clothing or tool storage. Use ¾-inch plywood for tread surfaces and ensure each step is secured to wall studs or a structural frame.
Murphy beds and fold-down furniture. If the layout can’t support a loft, a horizontal murphy bed (mounted on the long wall) opens up 8×10 feet of daytime floor space. Most DIY murphy bed kits use a piston lift mechanism rated for mattresses up to 100 pounds. Pair it with a fold-down table on the opposite wall, and the same zone serves as bedroom, office, and dining area.
Appliance sizing matters. A standard 30-inch range won’t fit in most 10×20 kitchens. Instead, use an 18- or 24-inch range (often marketed as apartment-size), or separate the cooktop and oven. Many tiny house builders skip the oven entirely and use a countertop convection or microwave/convection combo. Under-counter refrigerators (24 inches wide, 34 inches tall) provide 3–4 cubic feet of storage and free up counter space above.
Sliding barn doors or pocket doors. Swing doors eat up to 9 square feet of clearance arc. Pocket doors (which slide into the wall cavity) eliminate that loss but require thicker walls and careful framing to avoid plumbing conflicts. Sliding barn doors mount on surface tracks and need only 1 inch of clearance, though they don’t seal as tightly for sound or climate control.
Overhead and under-floor storage. Mount cabinets 16 to 18 inches deep along the upper wall perimeter to store seasonal items, tools, or pantry goods. Many home organization tips recommend vertical storage for tight spaces, this is where it becomes structural. If the trailer frame allows, some builders add shallow pull-out bins between floor joists, accessible via hatches in the flooring.
Zoning Your 10×20 Tiny House: Living, Sleeping, Kitchen, and Bath
Even in 200 square feet, functional zones prevent the space from feeling like a chaotic studio. Here’s how to allocate and separate each area.
Bathroom: 15–20 square feet. This is non-negotiable space. A 3×5-foot bathroom is tight but workable, fitting a corner shower (32×32 inches or 36×36 inches if space allows), a wall-hung sink, and a composting or macerating toilet. Use a pocket door or 24-inch barn door to save swing clearance. Vent fans are required by most codes: install a 50–80 CFM model vented through the roof or wall. Waterproof the shower area with a continuous sheet membrane (like RedGard or Schluter-Kerdi) before tile or wall panels go up.
Kitchen: 30–50 square feet. Galley kitchens work best in narrow footprints. Plan for 6 to 8 linear feet of counter and cabinet run. Include at least one 36-inch-wide base cabinet for a sink, one 24-inch section for a cooktop or range, and 24–30 inches of prep counter. Overhead cabinets should run to the ceiling (no wasted space above). If the layout permits, add a small island or fold-out peninsula for extra prep surface. Many budget home renovation stories show how painting cabinets and using open shelving can make tight kitchens feel larger without major demolition.
Sleeping zone: 40–60 square feet (loft or main floor). A queen mattress measures 60×80 inches, requiring a loft platform at least 5×7 feet to allow for bedding and sitting upright. King-size mattresses don’t fit in most 10-foot-wide structures once you account for wall thickness. If sleeping on the main floor, allocate 8×8 feet minimum for a bed frame, nightstand access, and walkway. Some builders use a three-quarter or full mattress (54×75 inches or 48×75 inches) to save space.
Living area: 40–60 square feet. What’s left over becomes the living zone. In single-loft layouts, this is often the center of the floor plan. Built-in seating, like an L-shaped bench with storage underneath, uses space more efficiently than a standalone couch. Include at least one electrical outlet every 6 feet along walls (per NEC guidelines) and plan lighting for task areas (kitchen counter, reading nook) and ambient ceiling fixtures.
Defining zones doesn’t always mean walls. Use changes in flooring material, ceiling height, or paint color to signal transitions. A step-up platform, a half-wall pony partition, or a floor-to-ceiling curtain track can separate sleeping from living areas without the cost or weight of framing a full wall.